Recently I’ve been working a lot with Storybook as we are using it to document our evolving design system at work. If you haven’t heard of Storybook before, it’s a tool that lets you easily create and document UI components. It started out solely focused on React but they have added support for many other frameworks including Angular and Vue as well as just plain HTML.
When we first adopted react as a framework we used it alongside FlowJs. Since both were created by Facebook it made sense to use the tools in tandem. However, after a while of using Flow, the decision was made to switch over to Typescript. Throughout this process, we were already using Storybook to visualise the react components we had, but the documentation wasn’t really part of the equation.
At the end of last year, we decided to put together a more official “design system” and focus more on documenting our components as well as visualising them. It was perfect timing since Storybook had just brought out its docs addon which allows the use of .mdx files to create more custom and detailed docs. So, I set up a new instance of Storybook with all the latest updates and added all the addons we thought would be useful.
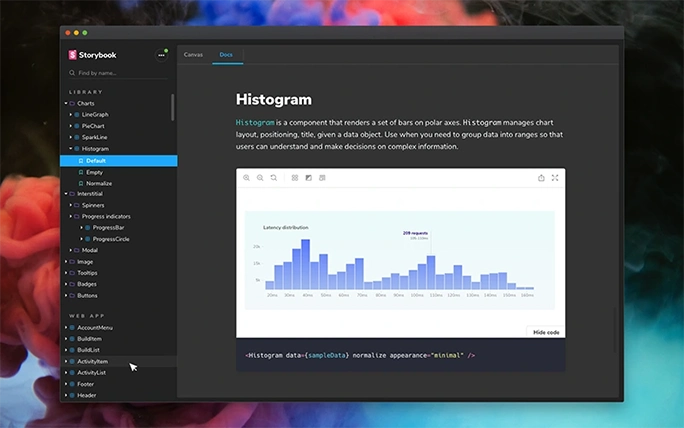
This is when I started to run into some problems. For me, the most important part of storybook was the props table. I’m sure anyone who has used a component library can relate, you pick your component and try to use it but aren’t sure what the props are named and which ones are required. So you end up having to go to the repo and opening up the file to see what the props are. This makes the whole process take much longer and requires many different tools before you finally have enough information to use the component. The Storybook props table makes this a lot easier as you can see a list of all the possible props and which ones are required right alongside the component itself. Furthermore, you can annotate the props (during the creation of the component) to give more information and context around what each prop is for.
Out of the box, Storybook handles React prop types on its own without much additional setup. This was not the same for Typescript though and I ended up going through a lot of trial and error before I managed to get everything working. This may change and become a little easier in the future but in order to avoid going through that again, I created a Storybook boilerplate that I could use anytime I needed a new instance of the tool. Recently, I thought it might be useful to others so I have put it on my GitHub so you can easily clone it and get started.
Visit storybook boilerplate repo.
After getting more experience using the tool, I feel like it’s very powerful and definitely a good choice, but I also have some tips for anyone looking to start using it.
Do the majority of the setup first
Take some time think about what it is that you want to accomplish with Storybook and get the setup ready first, before adding any components. I have found that adding new addons and making config changes can have a ripple effect and require you to make changes to your stories. If you have a lot of components and stories this can be a long process and can make debugging challenging.
Keep storybook in the same repo as your components
All the Storybook tools work best if they are kept in the same repo as the components. This is because Storybook needs to consume the un-compiled versions of your components (especially if you use typescript and want the props table) so the tools work best when kept together. If this is not an option or you have multiple repos with components you want to display in a single Storybook then you may have to create compiled components to use in your apps and a un-compiled version for Storybook.
Have a “playground” version of your storybook
Similar to the first tip, once you have your storybook setup it’s a good idea to save it as your own boilerplate and playground. You can put a test component in there to make sure everything works and that way if you need to add a new addon or make changes to the config you have a safe environment to try it out first.
Keep up to date with the latest version
Storybook is constantly evolving and getting better so make sure you upgrade regularly to get the latest features and bug fixes. It’s also open source so you can always get involved and contribute your ideas.
I hope those tips will come in handy as you create your own Storybook setup. If you want to learn more about the tool, you can do so on their website.
